A defective battery holder installation as well as a defective (or depleted) battery will manifest itself with the RTC not keeping time upon bootup and NextZXOS not displaying the time and date information on its Startup Menu. Setting the time and date anew, however, will restore the time display.
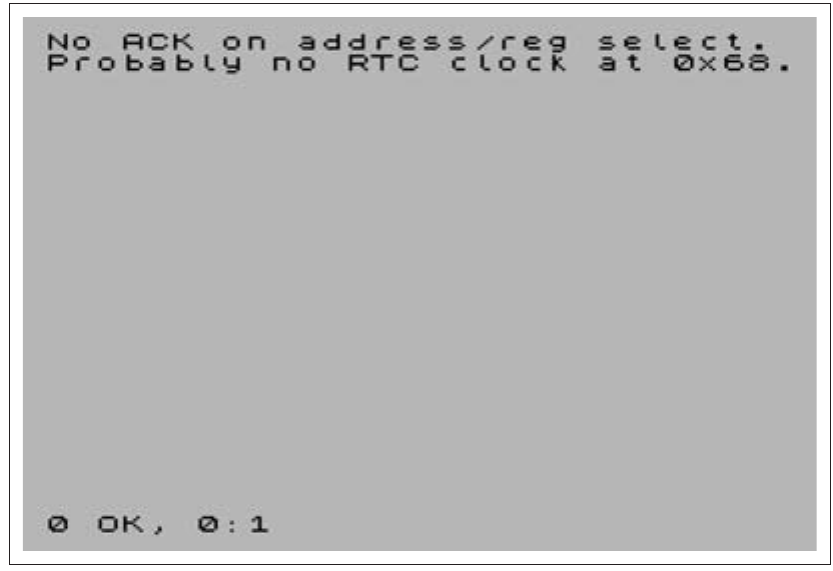
No ACK on address/reg select.
Probably no RTC clock at 0x68.


0 OK, 0:1
Fig. 44 – RTC not working
If on the other hand the commands described in the Using the Real Time Clock hardware section below do work, the time and date information appear in the Startup menu but time does not advance, then the issue lays usually with either the oscillator or the pins of the DS1307 IC these connect to. There's either a short somewhere or even a situation as simple as leftover flux from soldering. The oscillator can be damaged quite easily so make sure there's no continuity on its two legs before even turning the power on and inserting the battery in the holder.
D. Testing the Accelerator installation
Before you can test that the accelerator is working, there are a few things you need to do: First find a 16 Gb or larger microSD Card and then you need to download the NextPi2 distribution from: http://zx.xalior.com/NextPi2 together with the instructions that accompany it.
Once you prepare the SD card according to the instructions, put it in your Pi Accelerator prior to booting up your ZX Spectrum Next. The Pi support programs are already in the c:/apps/rpi folder on your System/Next™ distribution's SD, so you do not need to do anything else other than powering up the machine.
If you have access to the RPi0 you should see the green led flashing while the ZX Spectrum Next is booting; that's a good first sign showing that the RPi0 is loading its NextPi2 distribution. The LED will eventually stop flashing and should turn into a steady green. Once you're all booted up, change to the NextPi2 support folder, switch to the terminex folder and execute (with the browser or with the SPECTRUM command) terminex.snx by David Saphier. If the RPi0 installation worked, you will see a message stating Connection to NextPi established followed by a SUP> prompt which means your RPi0 installation was successful as shown in the figure below.
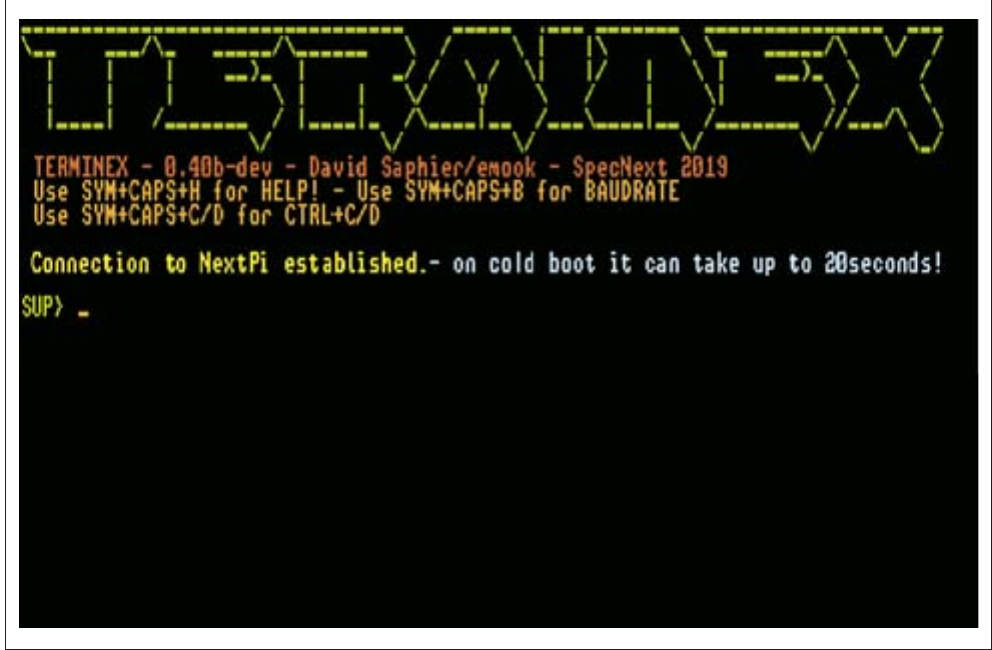
TERMINEX

TERMINEX - 0.40b-dev - David Saphier/emook - SpecNext 2019
Use SYM+CAPS+H for HELP! - Use SYM+CAPS+B for BAUDRATE
Use SYM+CAPS+C/D for CTRL+C/D

Connection to NextPi established.- on cold boot it can take up to 20seconds!

SUP> _
Fig. 45 – RPi Supervisor prompt via Terminex
ZX Spectrum Next User Manual, 3rd Edition (ISBN 978-1-5272-5496-1), written and illustrated by Phoebus R. Dokos. Copyright © 2020-2024 Phoebus Dokos / SpecNext Ltd. Licensed under CC BY-NC-SA 4.0. This is a transcription and can contain errors; check any doubt against the printed page.