Updating the System/Next™ distribution
Every time a new version of NextZXOS with additional features gets released, it gets pushed to the System/Next git repository. Same thing happens with every software tool, firmware version and core that adds some feature or fixes a bug. A new System/Next™ will get released in a complete image form only when enough components have been updated as the process is very time consuming and only a large enough update on many components warrants this. So your system updates may be complete (ie. replacing all the components in the system in one go; firmware, core, operating system AND supporting tools) or just partial. You can update your System/Next™ distribution partially by going to the git repository at: gitlab.com/thesmog358/tbblue/ downloading the individual component and replacing it on your card. When updating NextZXOS, refer to Chapter 19 to find out which files are absolutely required because they all need to be updated together.
That being said, NextZXOS attempts to make things easier for you by using an inbuilt "Updater" program. After downloading the appropriate / latest .DSU update file from www.specnext.com/latestdistro/ you need to place it on your SD card's root and then launch the NextZXOS Startup Menu, navigate to More… then go to Tools and select Updater. NextZXOS will locate the file and do everything for you!
Alternatively you can choose to download the entire distribution from git in one go by selecting the download button on the right top part of the distribution page.
If you do not feel adventurous however, the official home for the System/Next™ distribution is: www.specnext.com/latestdistro/ which also contains links to other forms of the distribution such as complete SD card images in various sizes for direct burning onto SD cards. Alternatively you have the option of purchasing a new SD card with the latest distribution on it from the SpecNext Ltd store.
Selecting and configuring a personality
When powering up the system, you're presented with the boot screen, where, as we saw in the Quick Start Guide you're presented with the option of entering the Test Screen or to Press SPACEBAR for Menu.
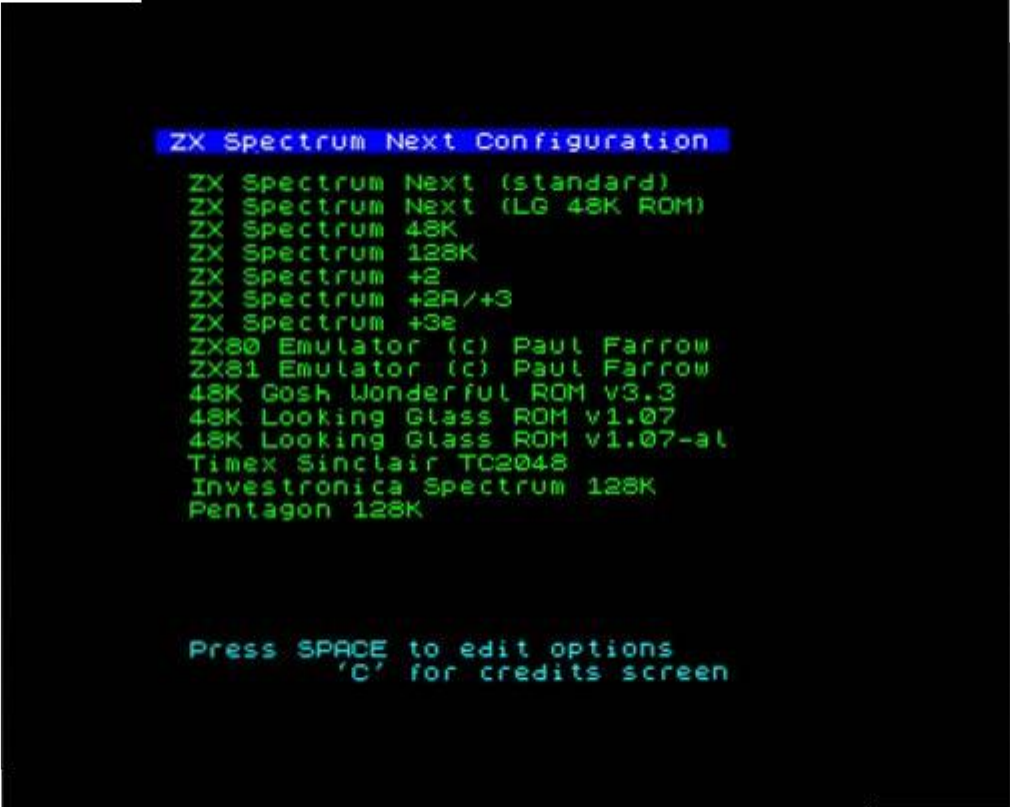
Pressing SPACE (be quick or the option will disappear and booting will continue) will present you with the following screen:
ZX Spectrum Next Configuration

 ZX Spectrum Next (standard)
 ZX Spectrum Next (LG 48K ROM)
 ZX Spectrum 48K
 ZX Spectrum 128K
 ZX Spectrum +2
 ZX Spectrum +2A/+3
 ZX Spectrum +3e
 ZX80 Emulator (c) Paul Farrow
 ZX81 Emulator (c) Paul Farrow
 48K Gosh Wonderful ROM v3.3
 48K Looking Glass ROM v1.07
 48K Looking Glass ROM v1.07-al
 Timex Sinclair TC2048
 Investronica Spectrum 128K
 Pentagon 128K


 Press SPACE to edit options
          'C' for credits screen
Fig. 52 – Personality Selection Screen
By using the cursor keys and ENTER you can select a new personality which will then become your default one and all subsequent boots will get you into that. Selecting however
ZX Spectrum Next User Manual, 3rd Edition (ISBN 978-1-5272-5496-1), written and illustrated by Phoebus R. Dokos. Copyright © 2020-2024 Phoebus Dokos / SpecNext Ltd. Licensed under CC BY-NC-SA 4.0. This is a transcription and can contain errors; check any doubt against the printed page.